

 HANDS ON SharePoint
 HANDS ON Teams
 HANDS ON Lists
 HANDS ON tek
 M365 Admin
How to create a Year view in SharePoint and Microsoft Lists
With the year starting it is time to recreate or update the systems used last year to store and manage information, and that’s exactly what I’m doing in these first days of the year.
Last year I started to use a list to manage payments and I would like to continue to use the same one this year, at the same time I would like to create year views to access the data from separate years when needed.

This can be achieved with the Microsoft Lists filters, but I want to get something more permanent that is always just one click away for all the years in the list.
Create a Year column using a calculated field
The solution I have implemented requires the creation of a calculated column to grab the year from the Created column, to create the same thing in your list you should do the following:
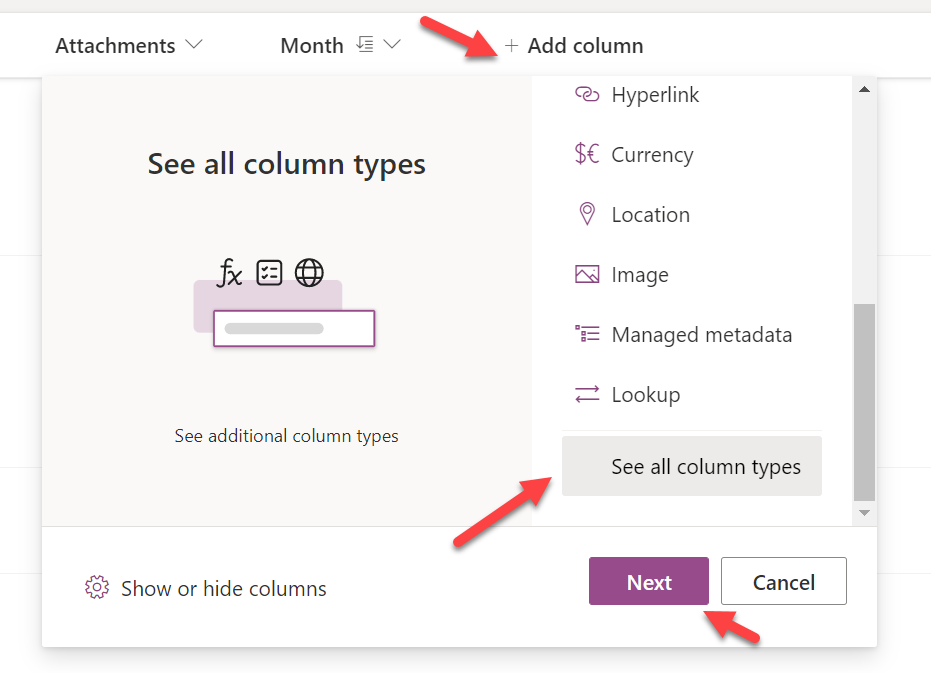
- In the All Items list view click in the Add Column option
- Scroll down on the column types list and click on See all column types
- Click Next, this action will redirect you to the classic SharePoint list settings page
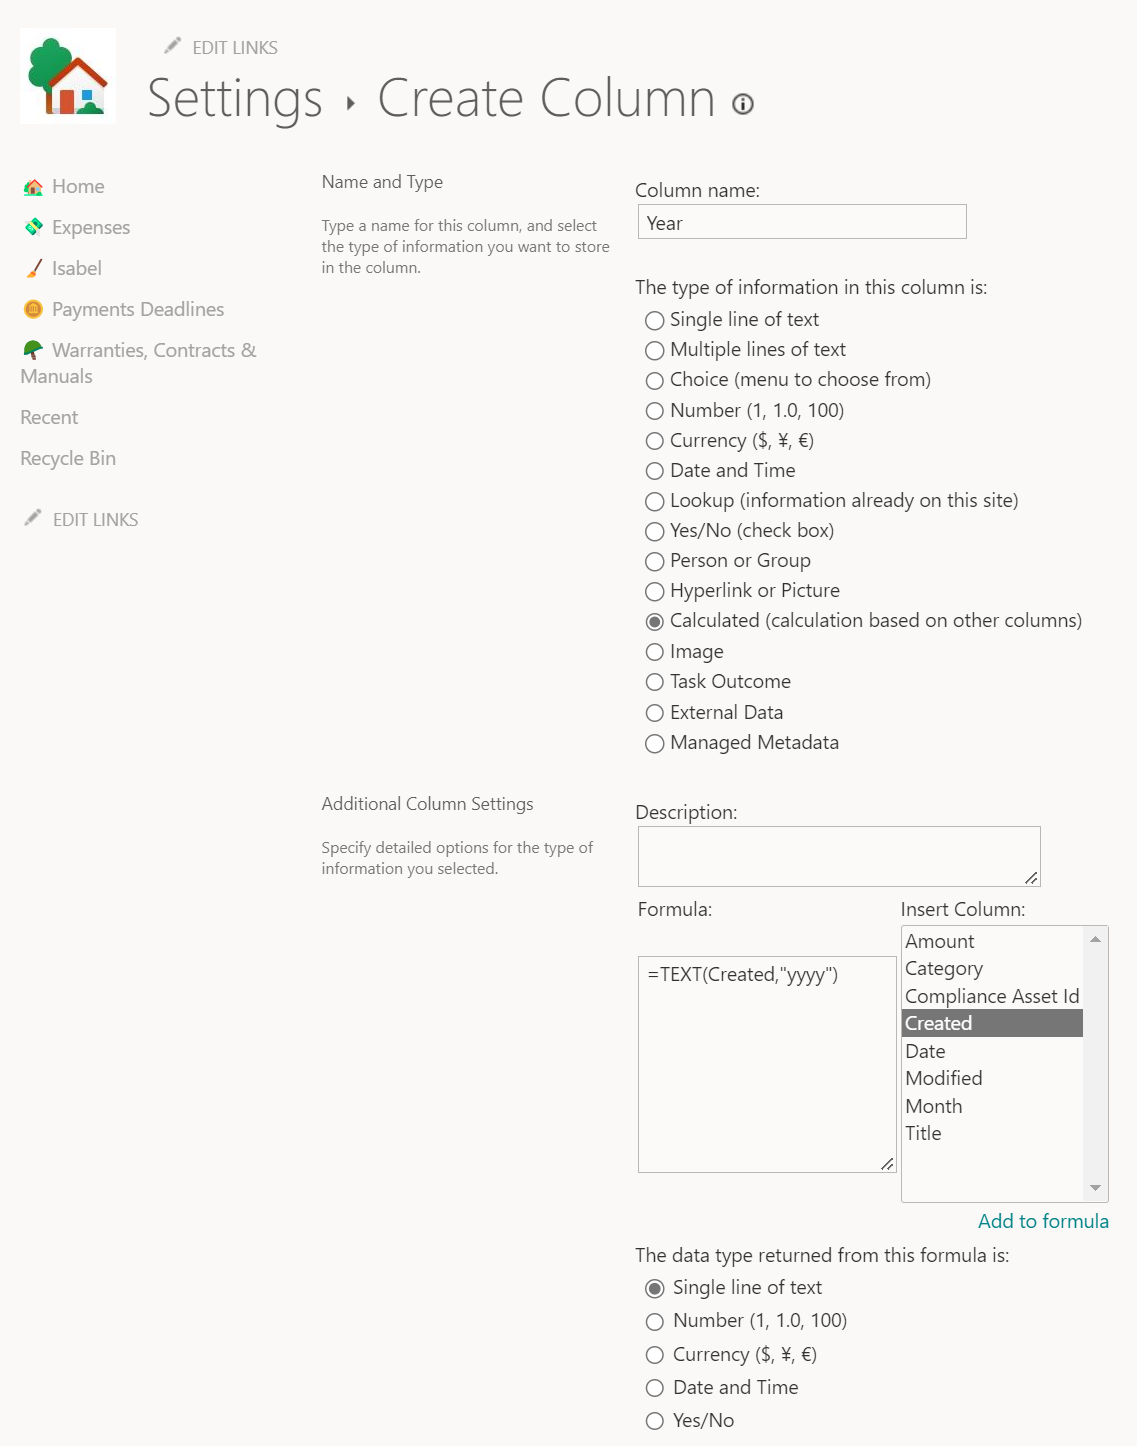
- Provide a name for your Year column
- Choose Calculated (calculation based on other columns) as the column type
- In the formula field type the following
=TEXT(Created,"yyyy")
- Select single line of the text as the data type returned
- Click OK to save your new column, this action will redirect you back to the list and you will see the new column with the year in all list items
Create a custom Year view
With the column added to the list and with data, now it is time to create a view for each year:
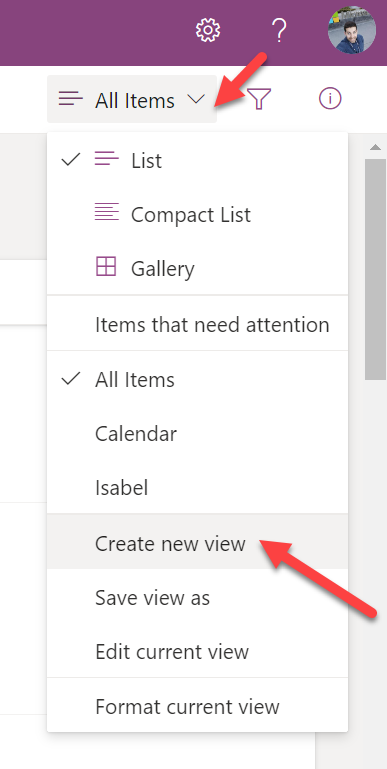
- In the view selector click on Create new view
- Provide a name to the new view and select the layout to display the data
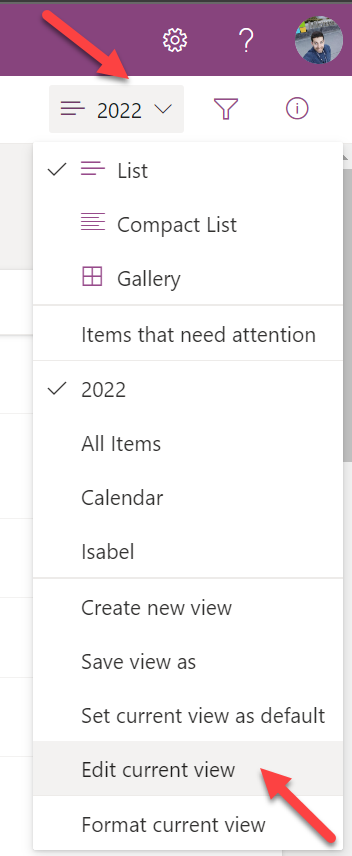
- Once created go back to the view selector, change to the new view, and click on Edit current view. This action will redirect you to the classic SharePoint page to manage the views
- Uncheck the year column as it will not be relevant for the data displayed in the view
- Scroll down to the Filter option and define the condition for the desired year as shown in the following image

Repeat the view creation process for each year that you want to have as a view and enjoy your data filtered with just one click.


No comments yet