

 HANDS ON SharePoint
 HANDS ON Teams
 HANDS ON Lists
 HANDS ON tek
 M365 Admin
Microsoft Lists Forms: Your Step-by-Step Starter Guide
Do you know that you can also use Microsoft Lists to create and share custom forms, such as registration forms, surveys or even quizzes? With Microsoft Lists Forms, you can easily design and distribute forms in your organization to collect feedback, opinions, or answers from your audience.
Microsoft Lists Forms is a new feature that was just released for Microsoft 365 users. It can be compared to Microsoft Forms, however, unlike Microsoft Forms, Microsoft Lists Forms integrates seamlessly with Microsoft Lists and allows you to create forms from existing list data or from scratch in minutes.

Advantages of using Microsoft Lists Forms
- You can create forms without leaving Microsoft Lists, saving time and effort
- You can use your existing list data as the source for your form questions, ensuring consistency and accuracy
- You can customize your form appearance, layout, and settings to suit your needs and preferences
- You can share your form with anyone, inside your organization, via link
- You can view and manage the responses directly in Microsoft Lists
In this blog post, we will show you how to create a new form using Microsoft Lists Forms and share it with your audience. We will also provide some tips and best practices for designing effective and engaging forms.
How to create a new form using Microsoft Lists Forms
To create a new form using Microsoft Lists Forms, you need to have the new Microsoft List in your tenant.
Follow these steps to create a new form using Microsoft Lists Forms:
- Open Microsoft Lists and select the list you want to create a form from, or create a new list from scratch or from a template
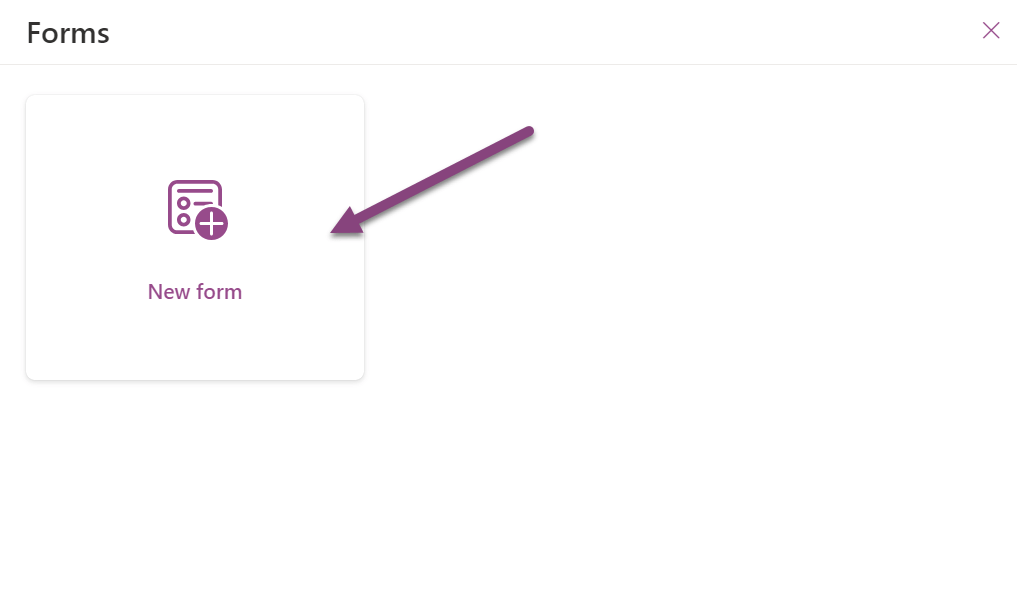
- In the list toolbar, click on the Form button

- A new popup will open with the Microsoft Lists Forms interface. Here you can create a new form or access to the existing forms in the list
- Provide a Title and Description for the form. Use the description to provide more context about what the use is about to submit, for example if you are creating a registration form for an event, use this section to provide details like the date and the hour
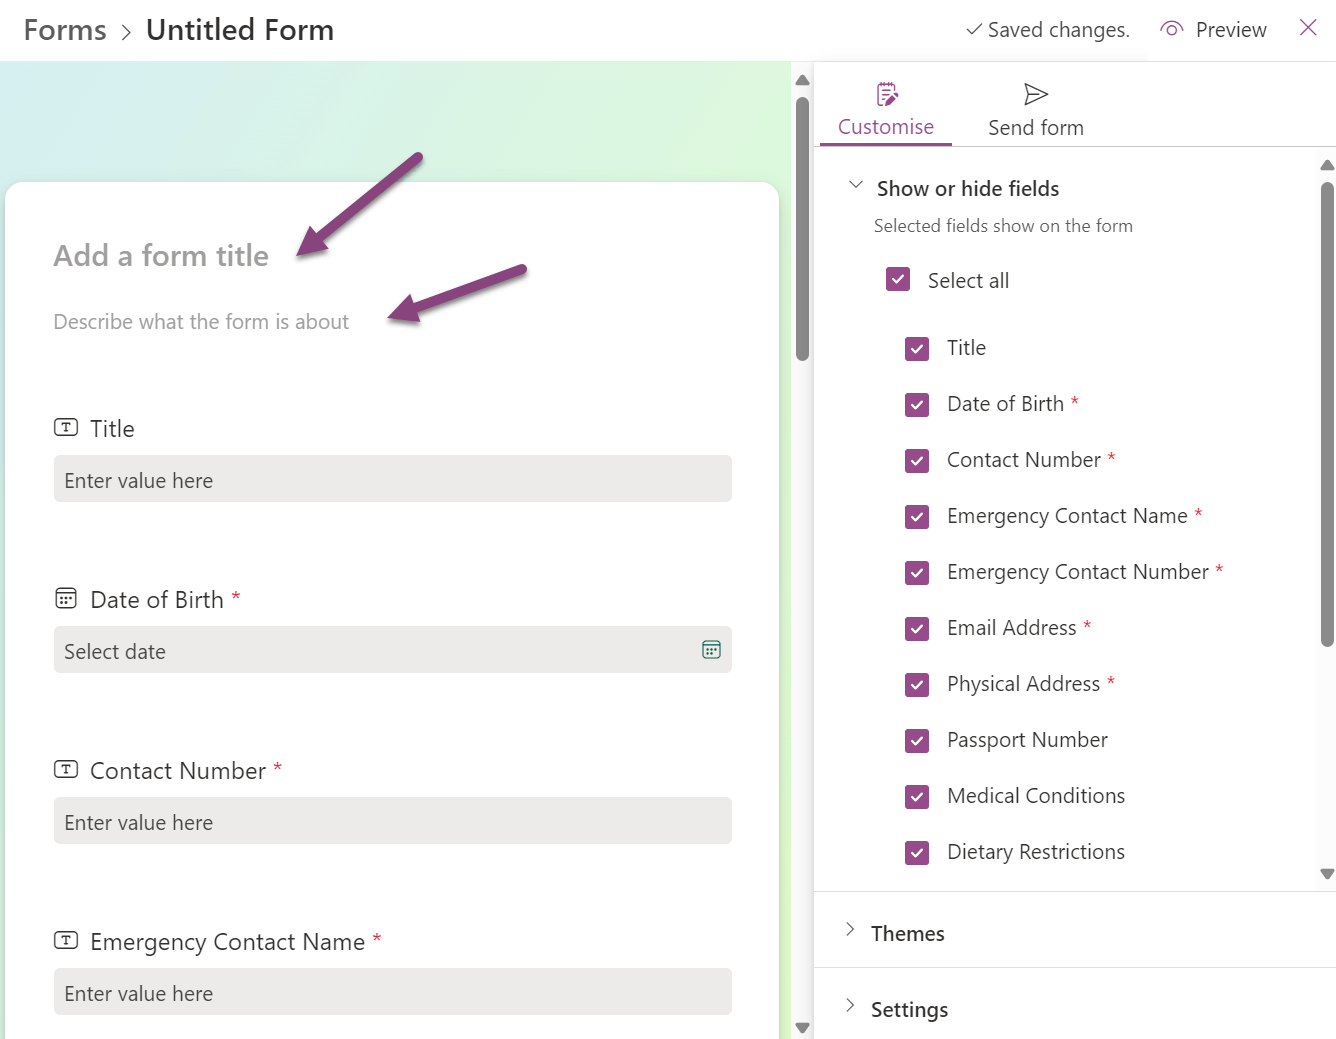
- On the vertical menu located on the right side you can:
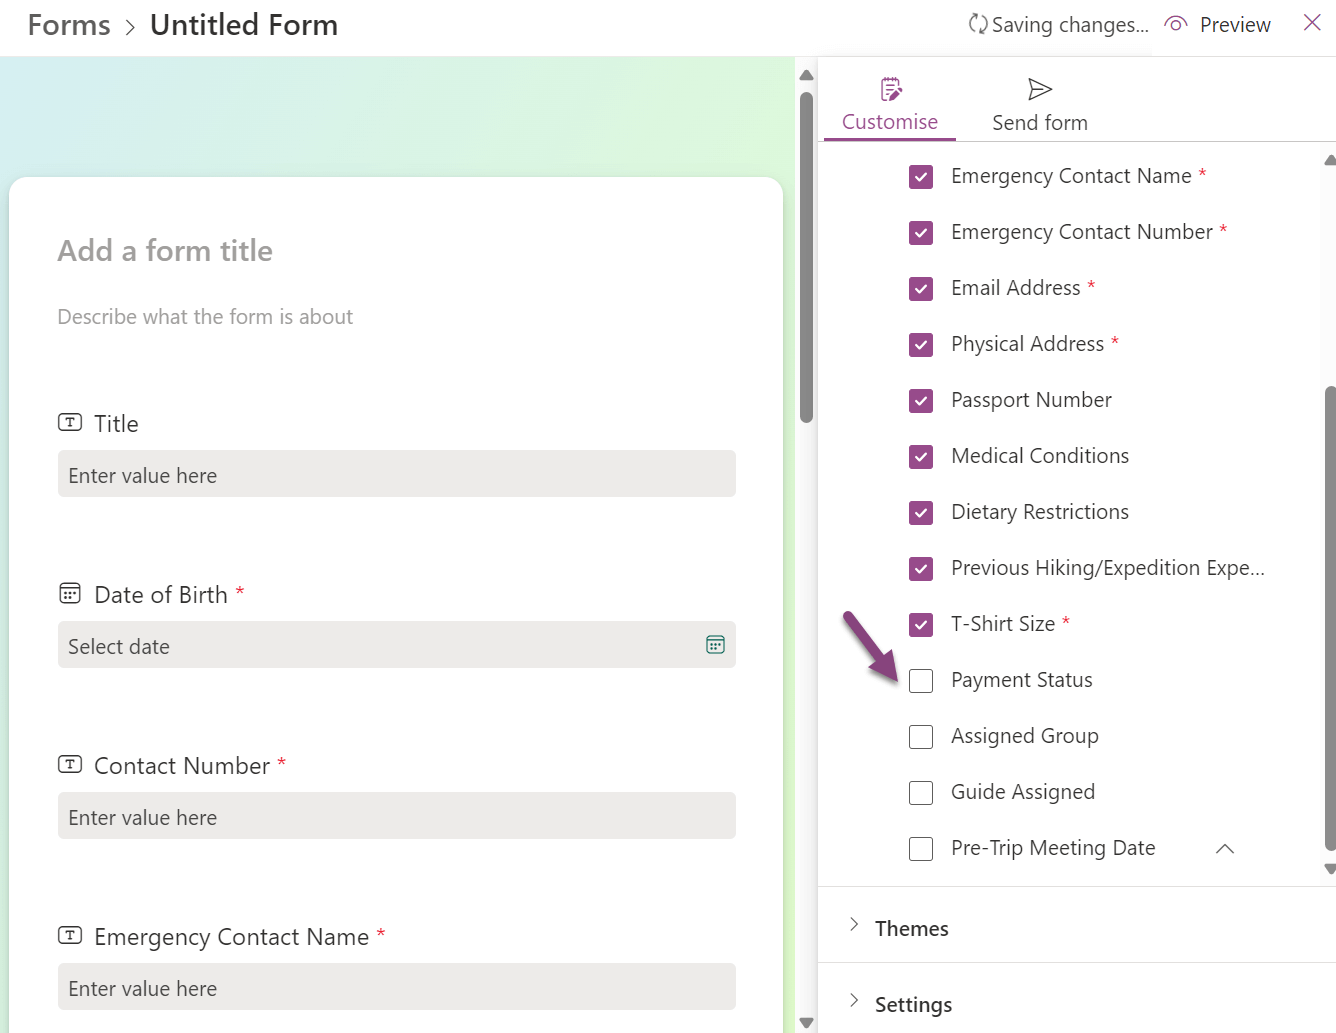
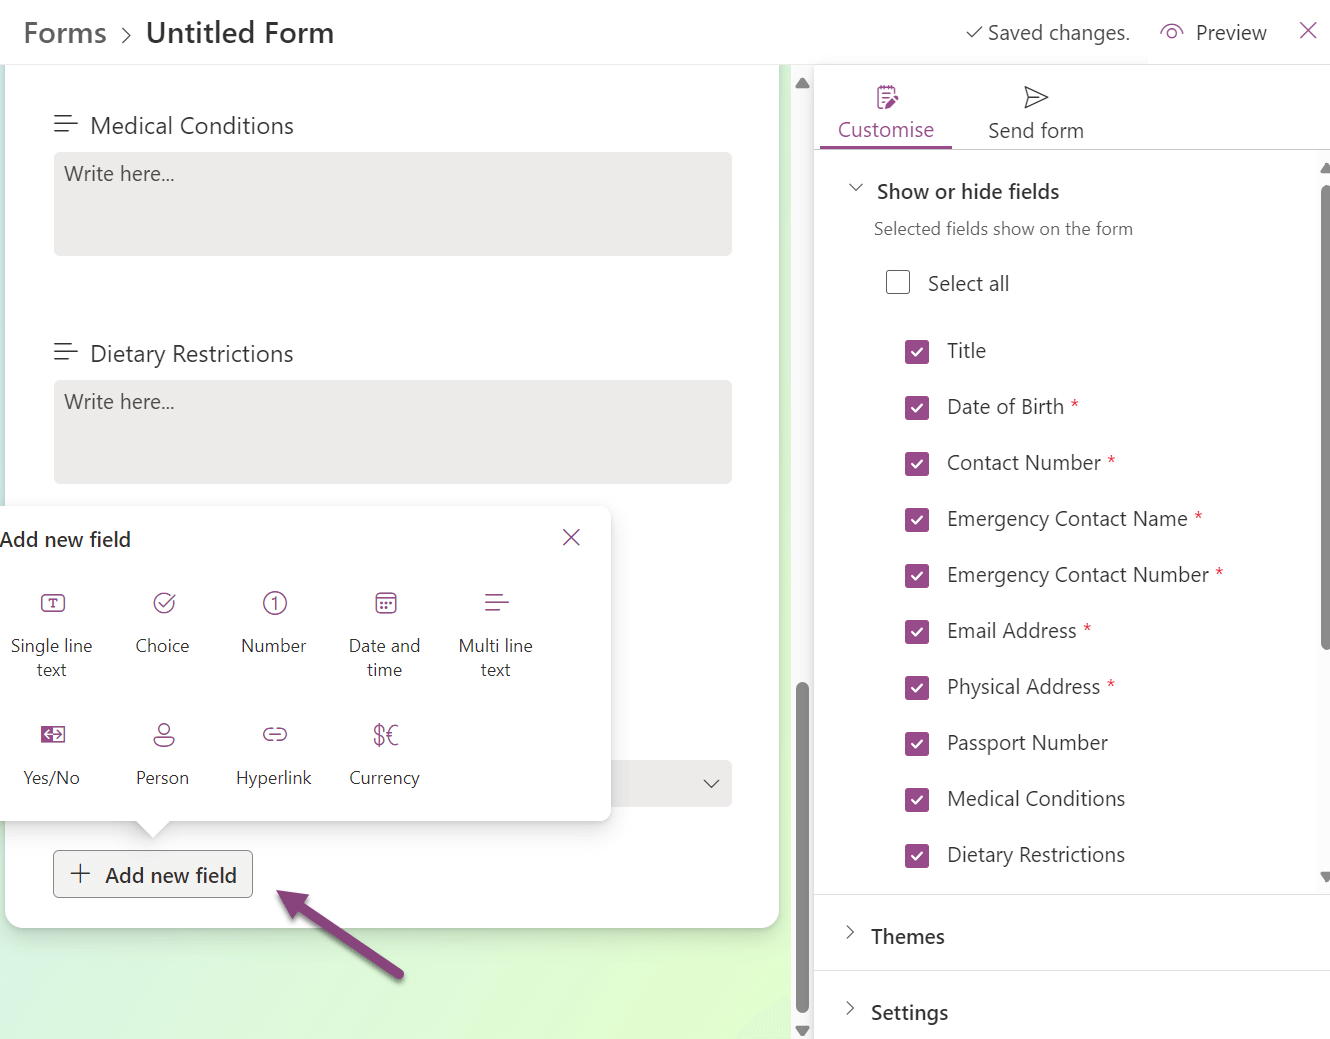
- Select the fields from the list you want to make available in the form. With Microsoft List forms you don’t need to reveal the entire list schema to an end user, if there are fields in the list that are meant to be filled by you or other users upon submission, you have the option to remove them in this option.
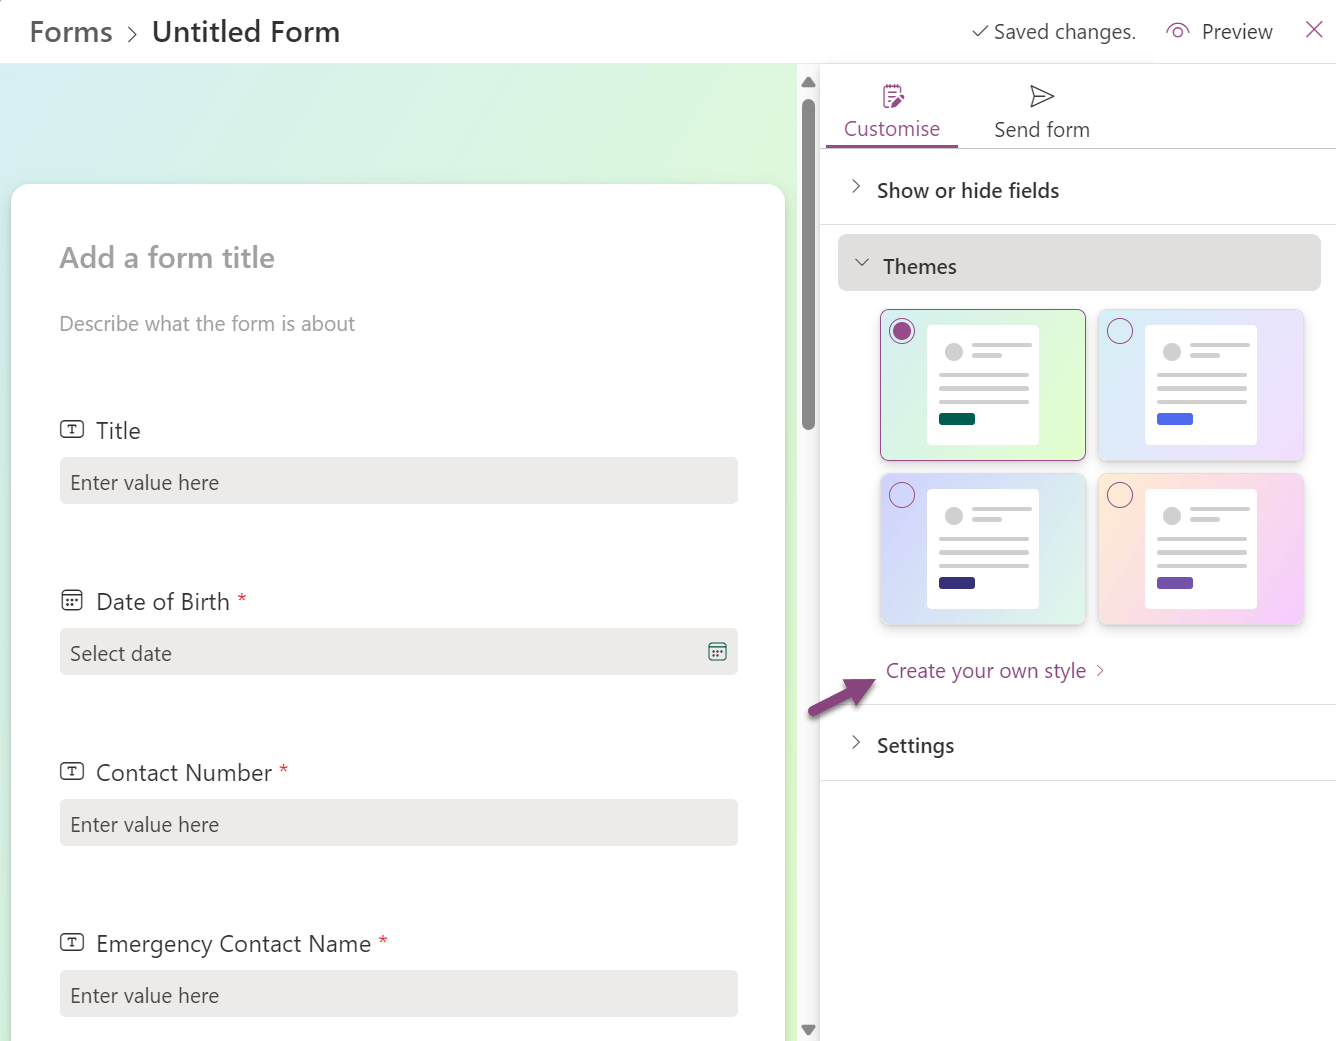
- Choose the theme, while you cannot customize the form with your corporate logo or background you can choose from a selection of background colors that Microsoft provides and you can also customize the main color that is used in the buttons and icons shown in the form by clicking in the Create your own style link
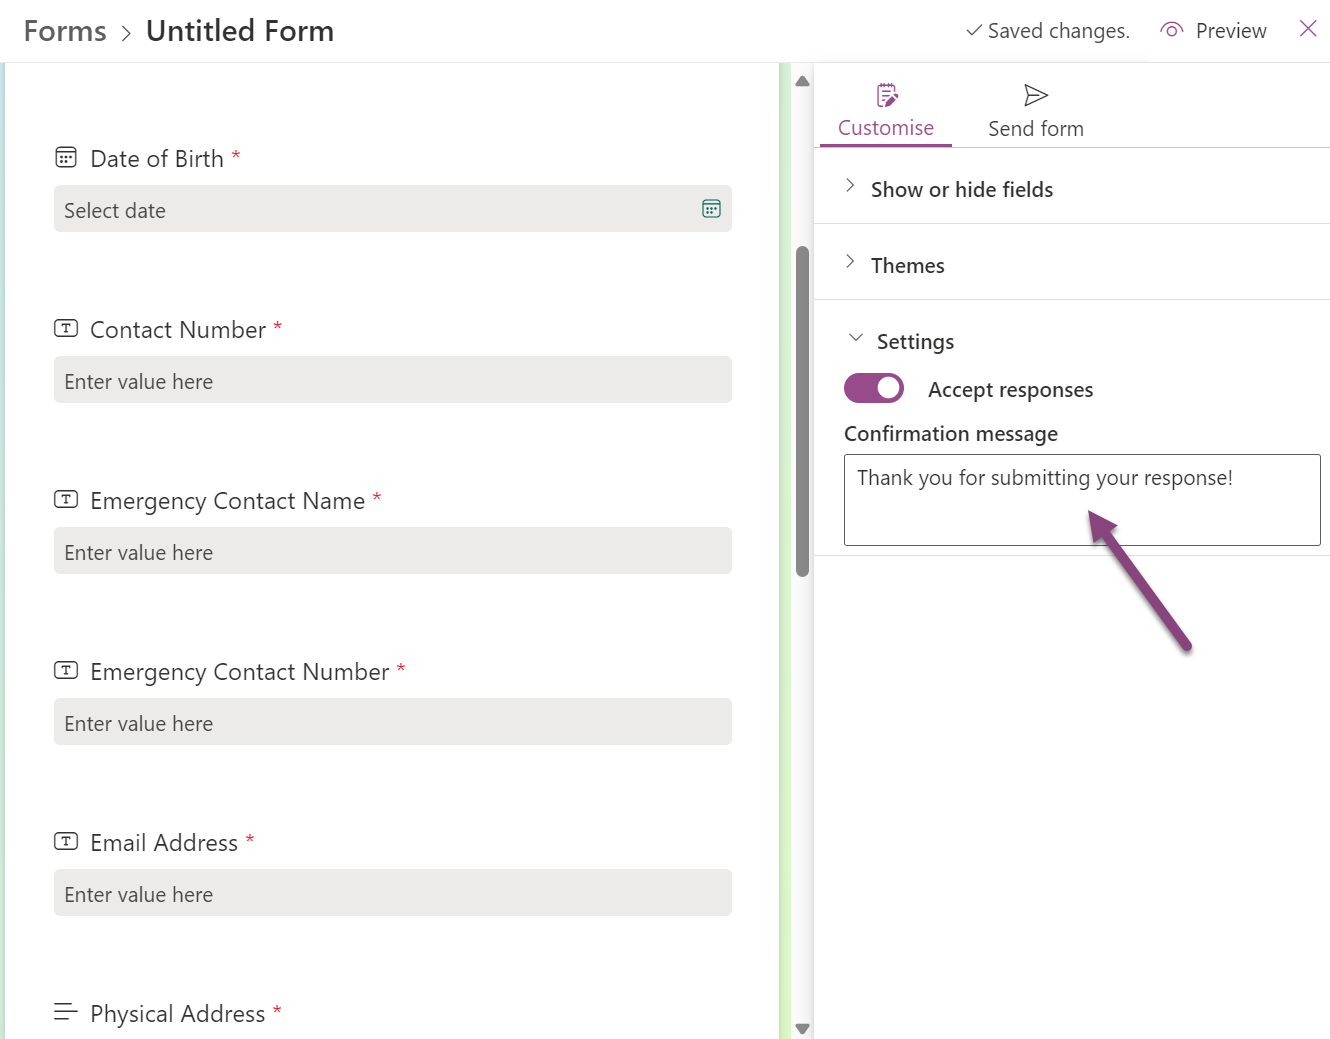
- In the Settings section define the confirmation message the user will see once the form has been submitted and turn on/off the possibility to accept new responses
- Select the fields from the list you want to make available in the form. With Microsoft List forms you don’t need to reveal the entire list schema to an end user, if there are fields in the list that are meant to be filled by you or other users upon submission, you have the option to remove them in this option.
- If while building the form you realize that there is a missing column in the list schema you have the opportunity to add it directly from the form customization by clicking the Add new field button at the bottom of the form
- Once you finish the customization of your form, the next step is to get the link to be shared with your users, to do that click in the Send form option and then in the Copy link
How to manage your Microsoft Lists Forms
After you have created a form for your list, you can manage it or create new forms from the Forms option in the Microsoft Lists toolbar. You can see all the forms that are associated with your list and edit, delete, or duplicate them.
You can also stop accepting responses for a form without deleting it, which is useful if you want to keep the existing data but prevent further submissions. If you stop accepting responses, users who try to access the form will see a message saying that the form is closed, instead of getting a page not found error.
To stop receiving answers in your form, you should do the following:
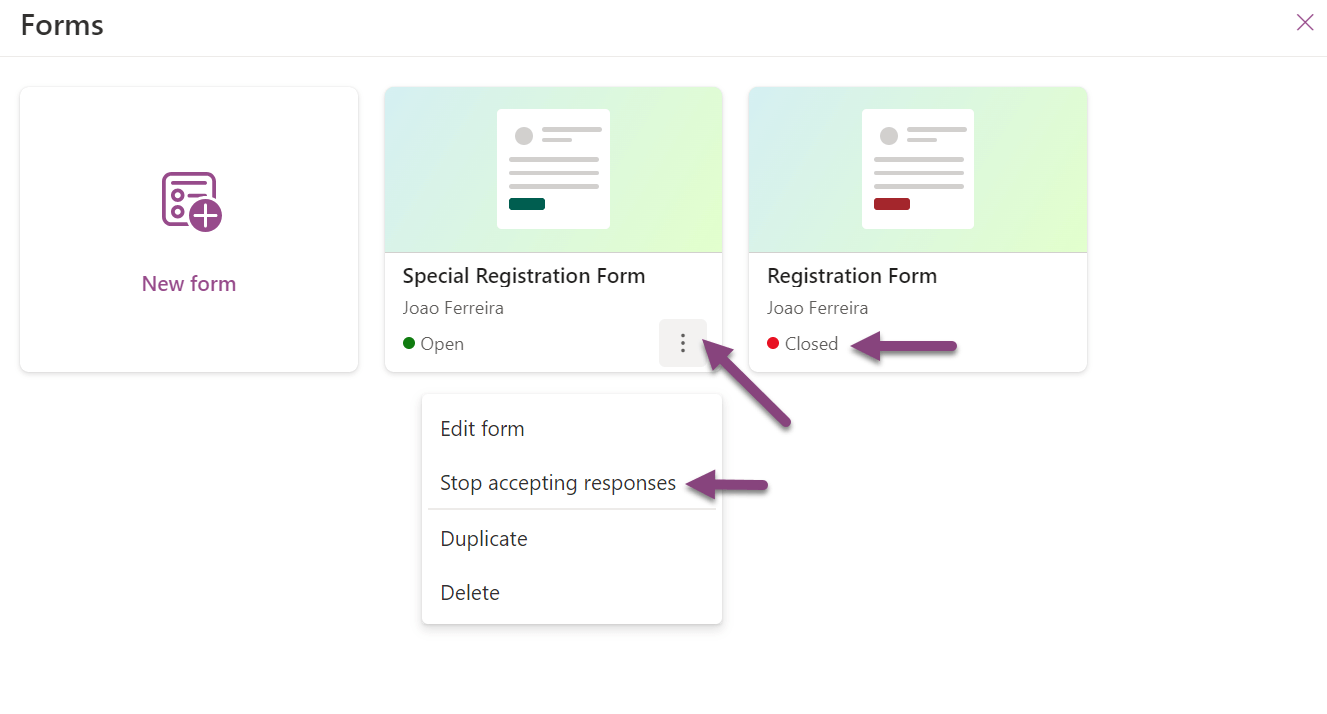
- Go to the Forms option in the Microsoft Lists toolbar and click in the … for the form you want to close
- On the menu click Stop accepting responses
- A form no longer accepting responses is displayed with a red dot followed by the Closed label
- You can resume accepting responses at any time by following the same steps and choosing Start accepting responses.
Conclusion
Microsoft Lists Forms is a new and exciting feature that allows you to create and share custom forms using your existing list data or from scratch. You can use Microsoft Lists Forms to collect feedback, opinions, answers or any other type of data from your audience.
Microsoft Lists Forms is easy to use, flexible, and integrated with Microsoft Lists, making it a powerful tool for your data collection and management needs. Try it out today and let me know what you think. If you want to see a full live demo with everything you need to know about Microsoft Lists Forms watch the video below.


No comments yet