

 HANDS ON SharePoint
 HANDS ON Teams
 HANDS ON Lists
 HANDS ON tek
 M365 Admin
Mastering list view formatting: How to format selected items in Microsoft Lists and SharePoint
Lists can help you to keep track of tasks, projects, and important information. However, as lists grow larger and more complex, it can be challenging to navigate and make sense of the data. That’s where list view formatting comes in.
With the ability to customize how lists are displayed, list view formatting allows you to present data in a more meaningful and visually appealing way. One of the most useful features of list view formatting is the ability to highlight selected items, providing an instant visual cue that draws the user’s attention to important information.
This blog post will guide you through formatting selected items in views, using two different examples to illustrate the process.

How to format selected items
To format selected list items, you will need to use the expression “@isSelected”, it returns true if the item is selected and false if not.
The first scenario consists in highlighting the selected items to display them with the same branding color instead of the default light grey. To apply the custom formatting do the following:
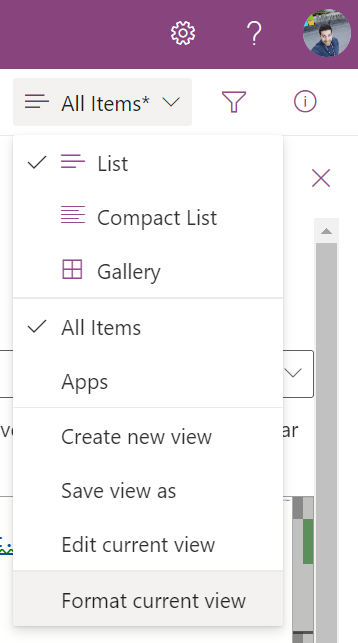
- Click in the view selector
- From the menu click on Format current view
- At the bottom of the right pane, click in Advanced mode
- In the text area paste the following json code
{
  "$schema": "https://developer.microsoft.com/json-schemas/sp/v2/row-formatting.schema.json",
  "additionalRowClass": "=if(@isSelected, 'sp-css-backgroundColor-themeLighter', 'sp-css-backgroundColor-noFill')"
}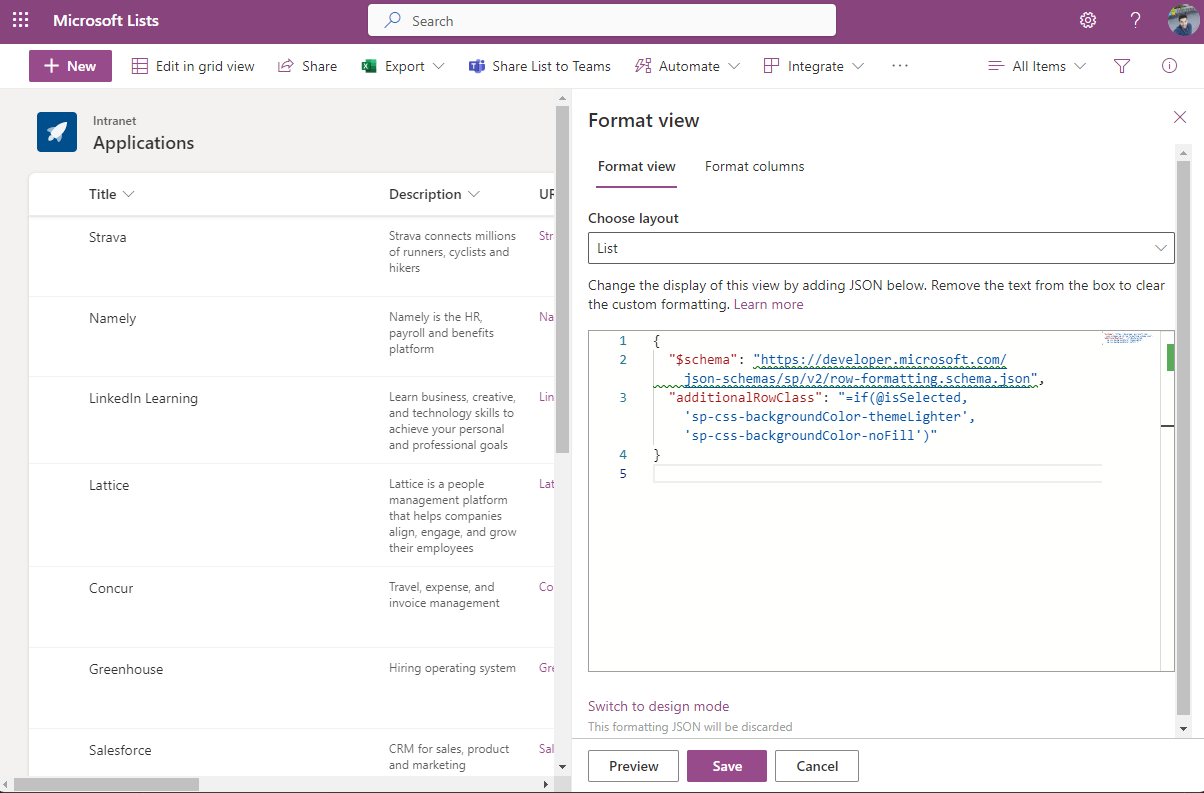
This sample paints any selected row with a lighter version of the main color of the theme applied to SharePoint or with the lighter Microsoft Lists color if the lists is being used in the Lists application.
The second scenario consists in formatting a view to be used as a filter in a SharePoint page, if you are not familiar with this concept I recommend you to have a look here.
To apply the formatting use the same instructions described above and the following JSON code.
{
  "$schema": "https://developer.microsoft.com/json-schemas/sp/v2/row-formatting.schema.json",
  "hideSelection": false,
  "hideListHeader": true,
  "rowFormatter": {
    "elmType": "div",
    "style": {
      "margin-bottom": "2px",
      "margin-top": "2px"
    },
    "children": [
      {
        "elmType": "div",
        "style": {
          "text-align": "left",
          "margin": "auto",
          "height": "40px",
          "line-height": "40px",
          "font-weight": "500",
          "font-size": "18px",
          "background-color": "=if(@isSelected, '#d41d54', '#080e47')",
          "color": "#FFF",
          "width": "303px",
          "padding-left": "10px",
          "text-transform": "upercase"
        },
        "txtContent": "[$Title]"
      }
    ]
  }
}
This sample formats all the items with a background color and when selected the color changes to another value, instead of showing all the information contained in the lists it is just shows the Title column as the list is intended to be used as a filter.


No comments yet