

 HANDS ON SharePoint
 HANDS ON Teams
 HANDS ON Lists
 HANDS ON tek
 M365 Admin
Introducing Branching in Microsoft Lists Forms
Branching in forms allows you to create dynamic forms that adapt based on user input. This means that the form can change in real-time, showing or hiding fields depending on the choices made by the user. This is particularly useful when dealing with different types of data that require different sets of information.
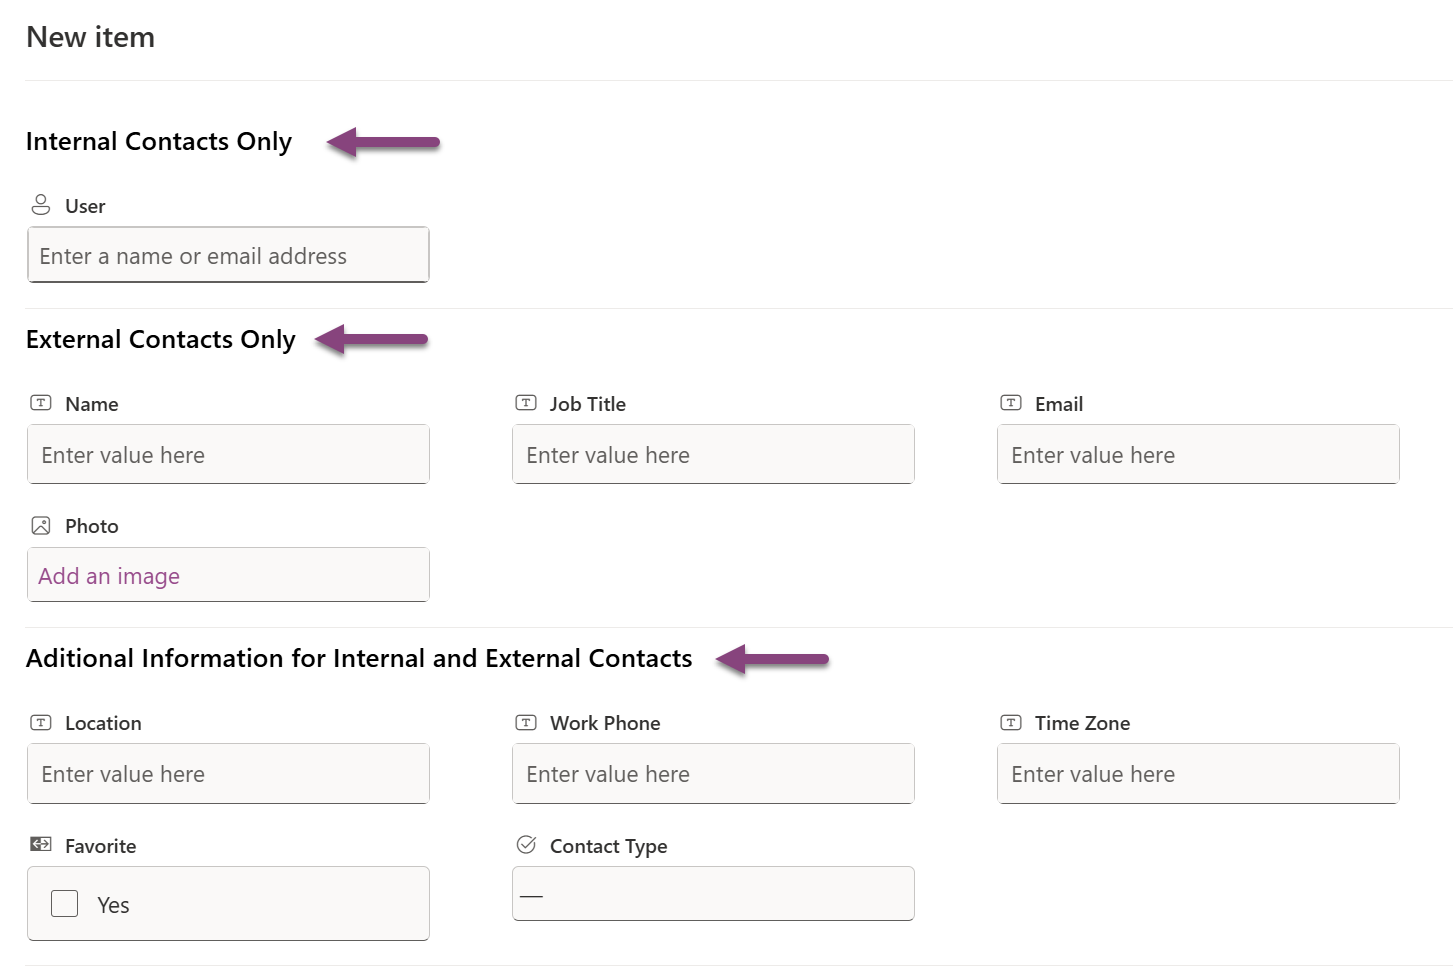
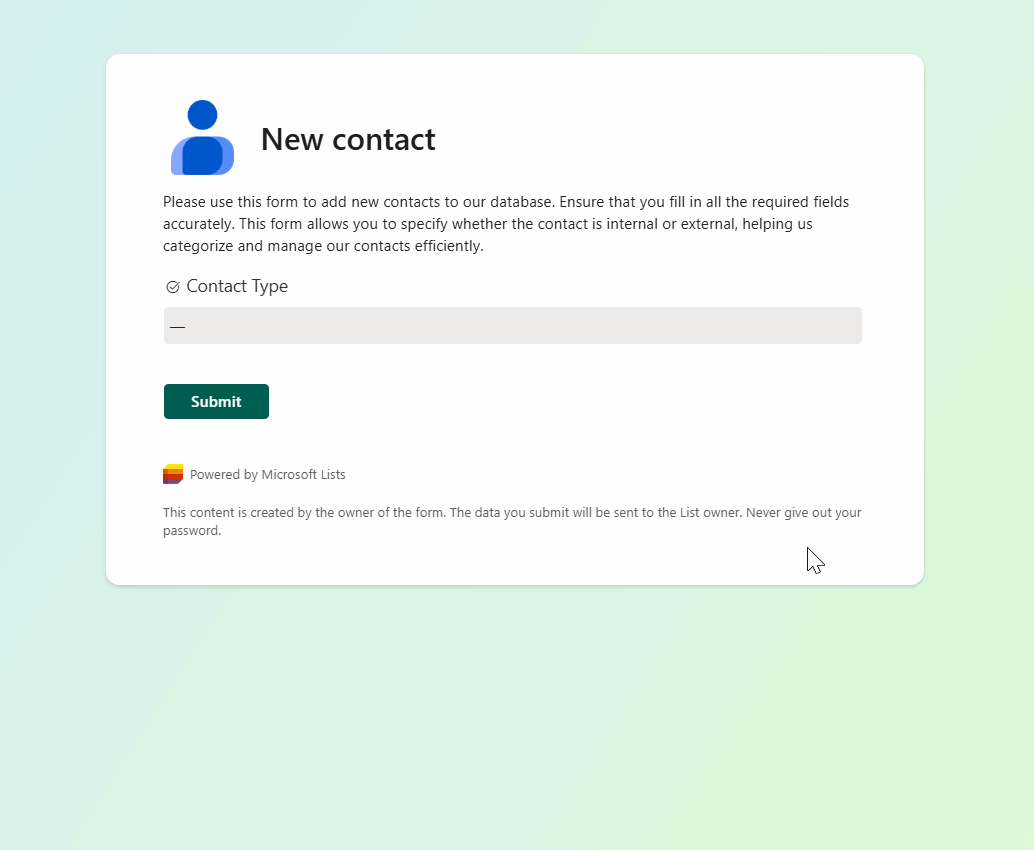
For example, in a contact list where you store information about both internal and external users, the data requirements for each type of contact can vary significantly. Internal contacts might only need a person column, while external contacts require multiple fields to capture the same information. Additionally, both types of contacts might need extra information that is relevant to both.

The Problem Branching Solves
Before the introduction of branching, customizing the default list form to accommodate different data requirements was a challenge. You could create sections to guide users on what to fill, but this approach did not hide unnecessary fields, leading to potential errors and confusion. Users had to navigate through irrelevant fields, increasing the likelihood of mistakes and making the data collection process less efficient.
How Branching Simplifies Data Collection
With the new branching feature, the form experience is significantly improved. Now, the first thing a user needs to do is specify whether the contact is internal or external. Based on this selection, the form dynamically adjusts to display only the fields necessary for each contact type. This not only streamlines the data entry process but also reduces the chances of errors by eliminating irrelevant fields.
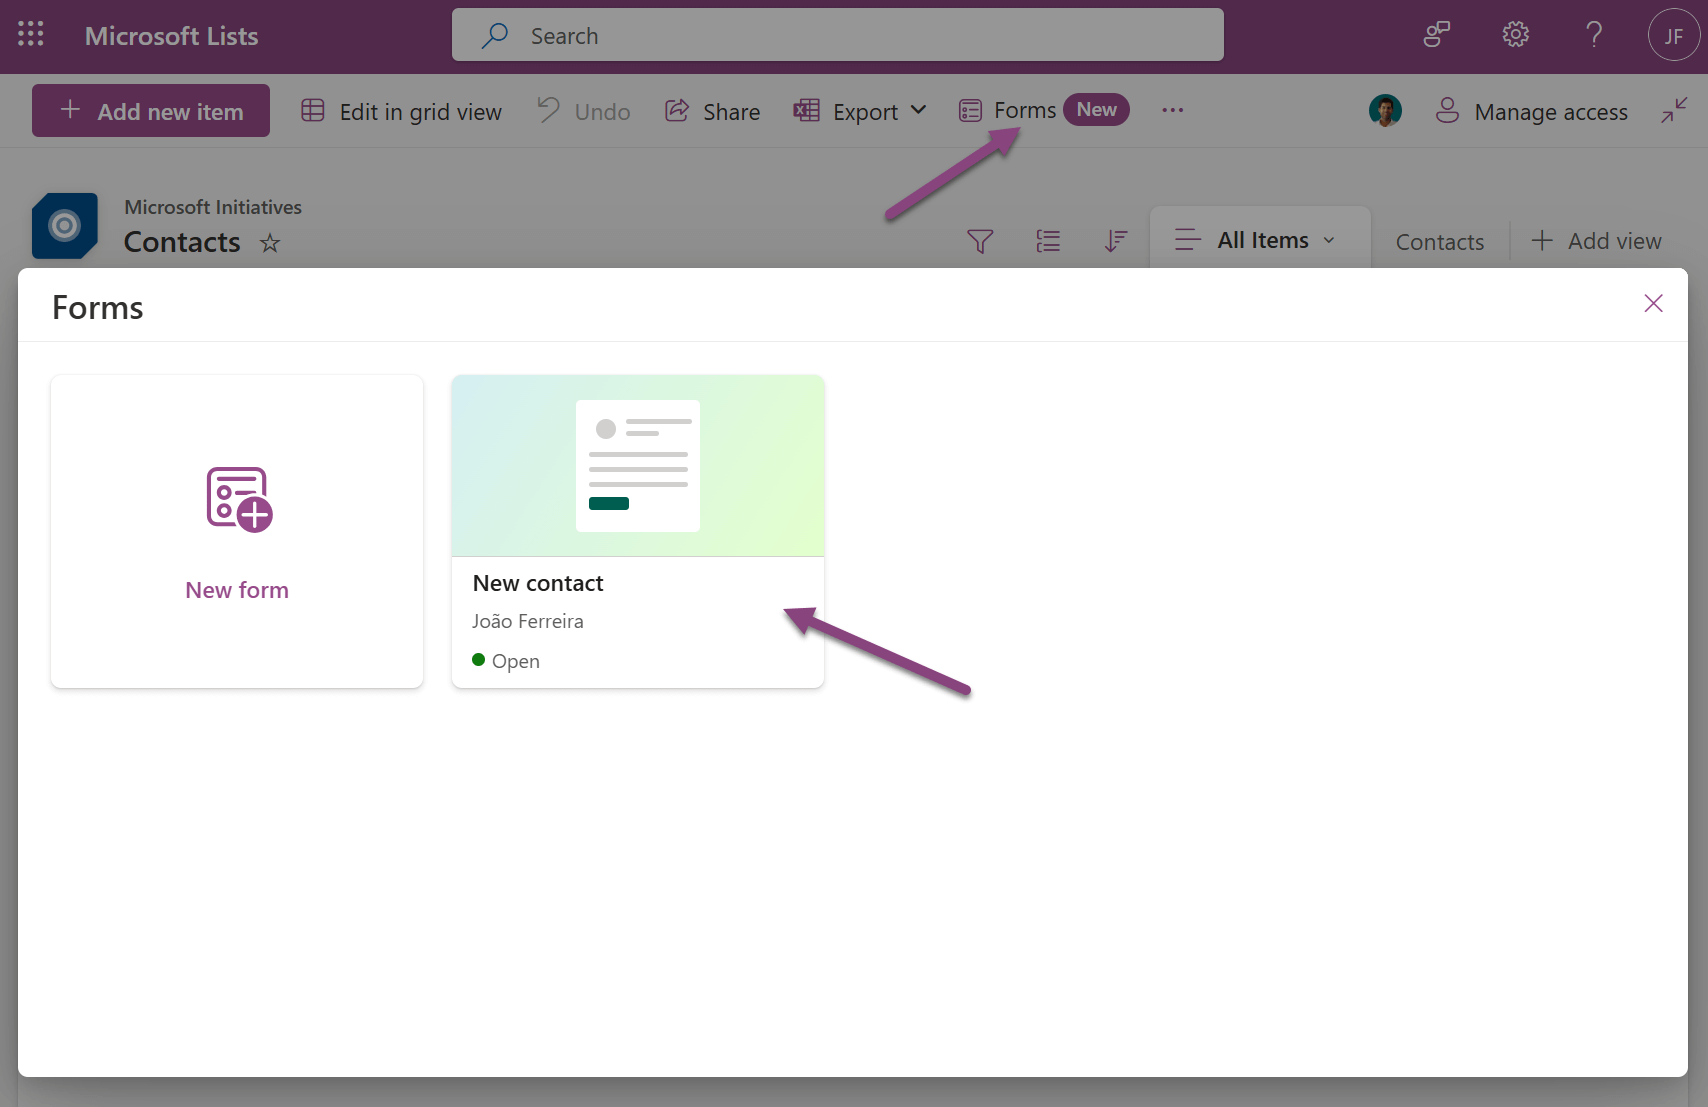
How to Use Branching in Microsoft Lists Forms
Using the branching feature in Microsoft Lists forms is straightforward and can greatly enhance your data collection process. Follow these steps to set up branching in your forms:
- Start by opening the list where you want to implement branching.
- Open an existing form or create a new one.
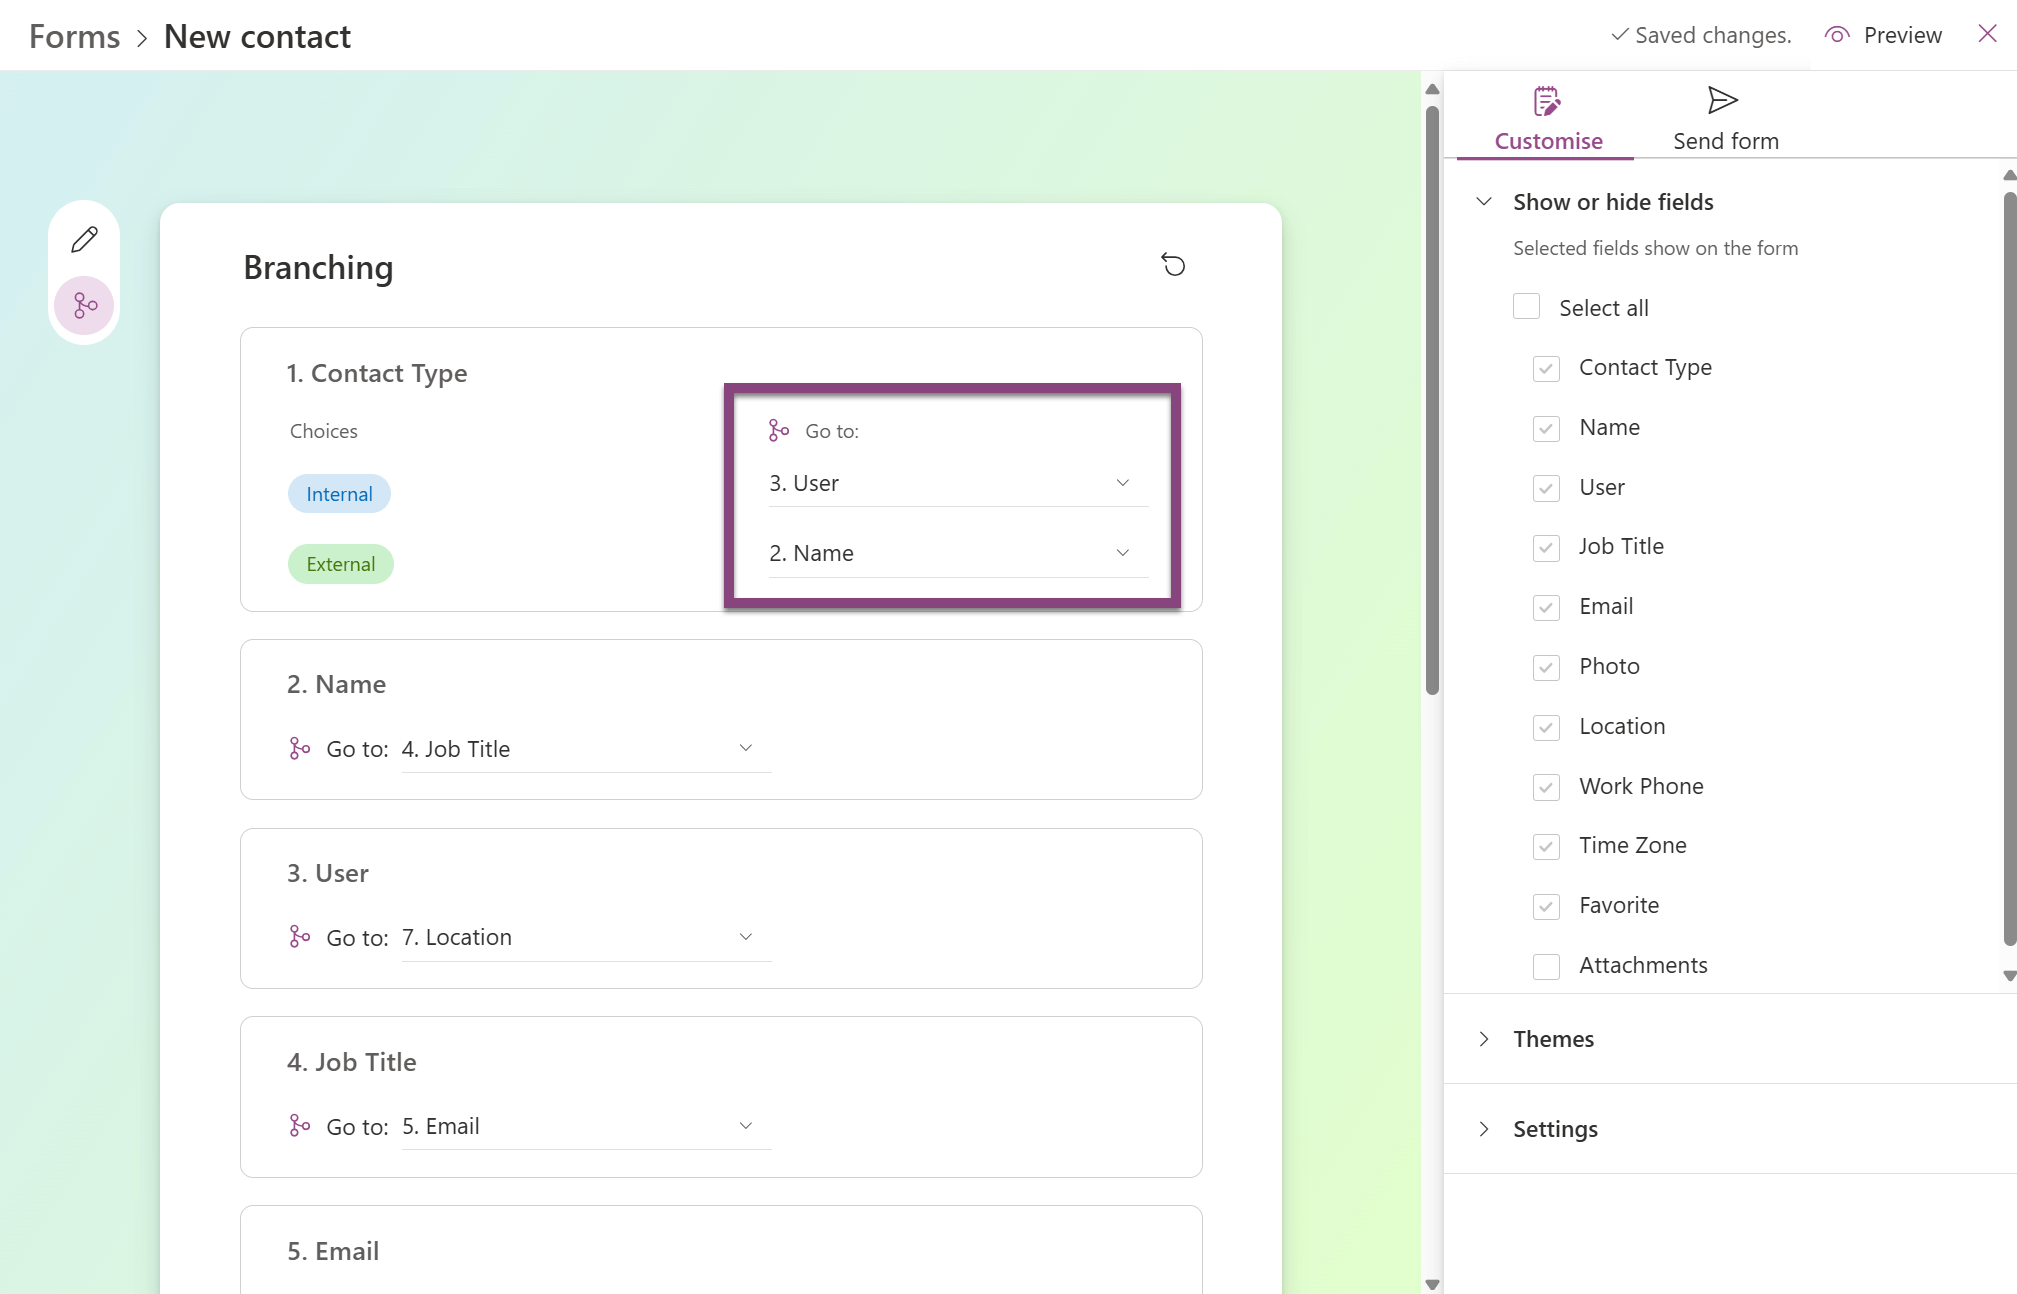
- On the left side of your form, click on the branching icon.
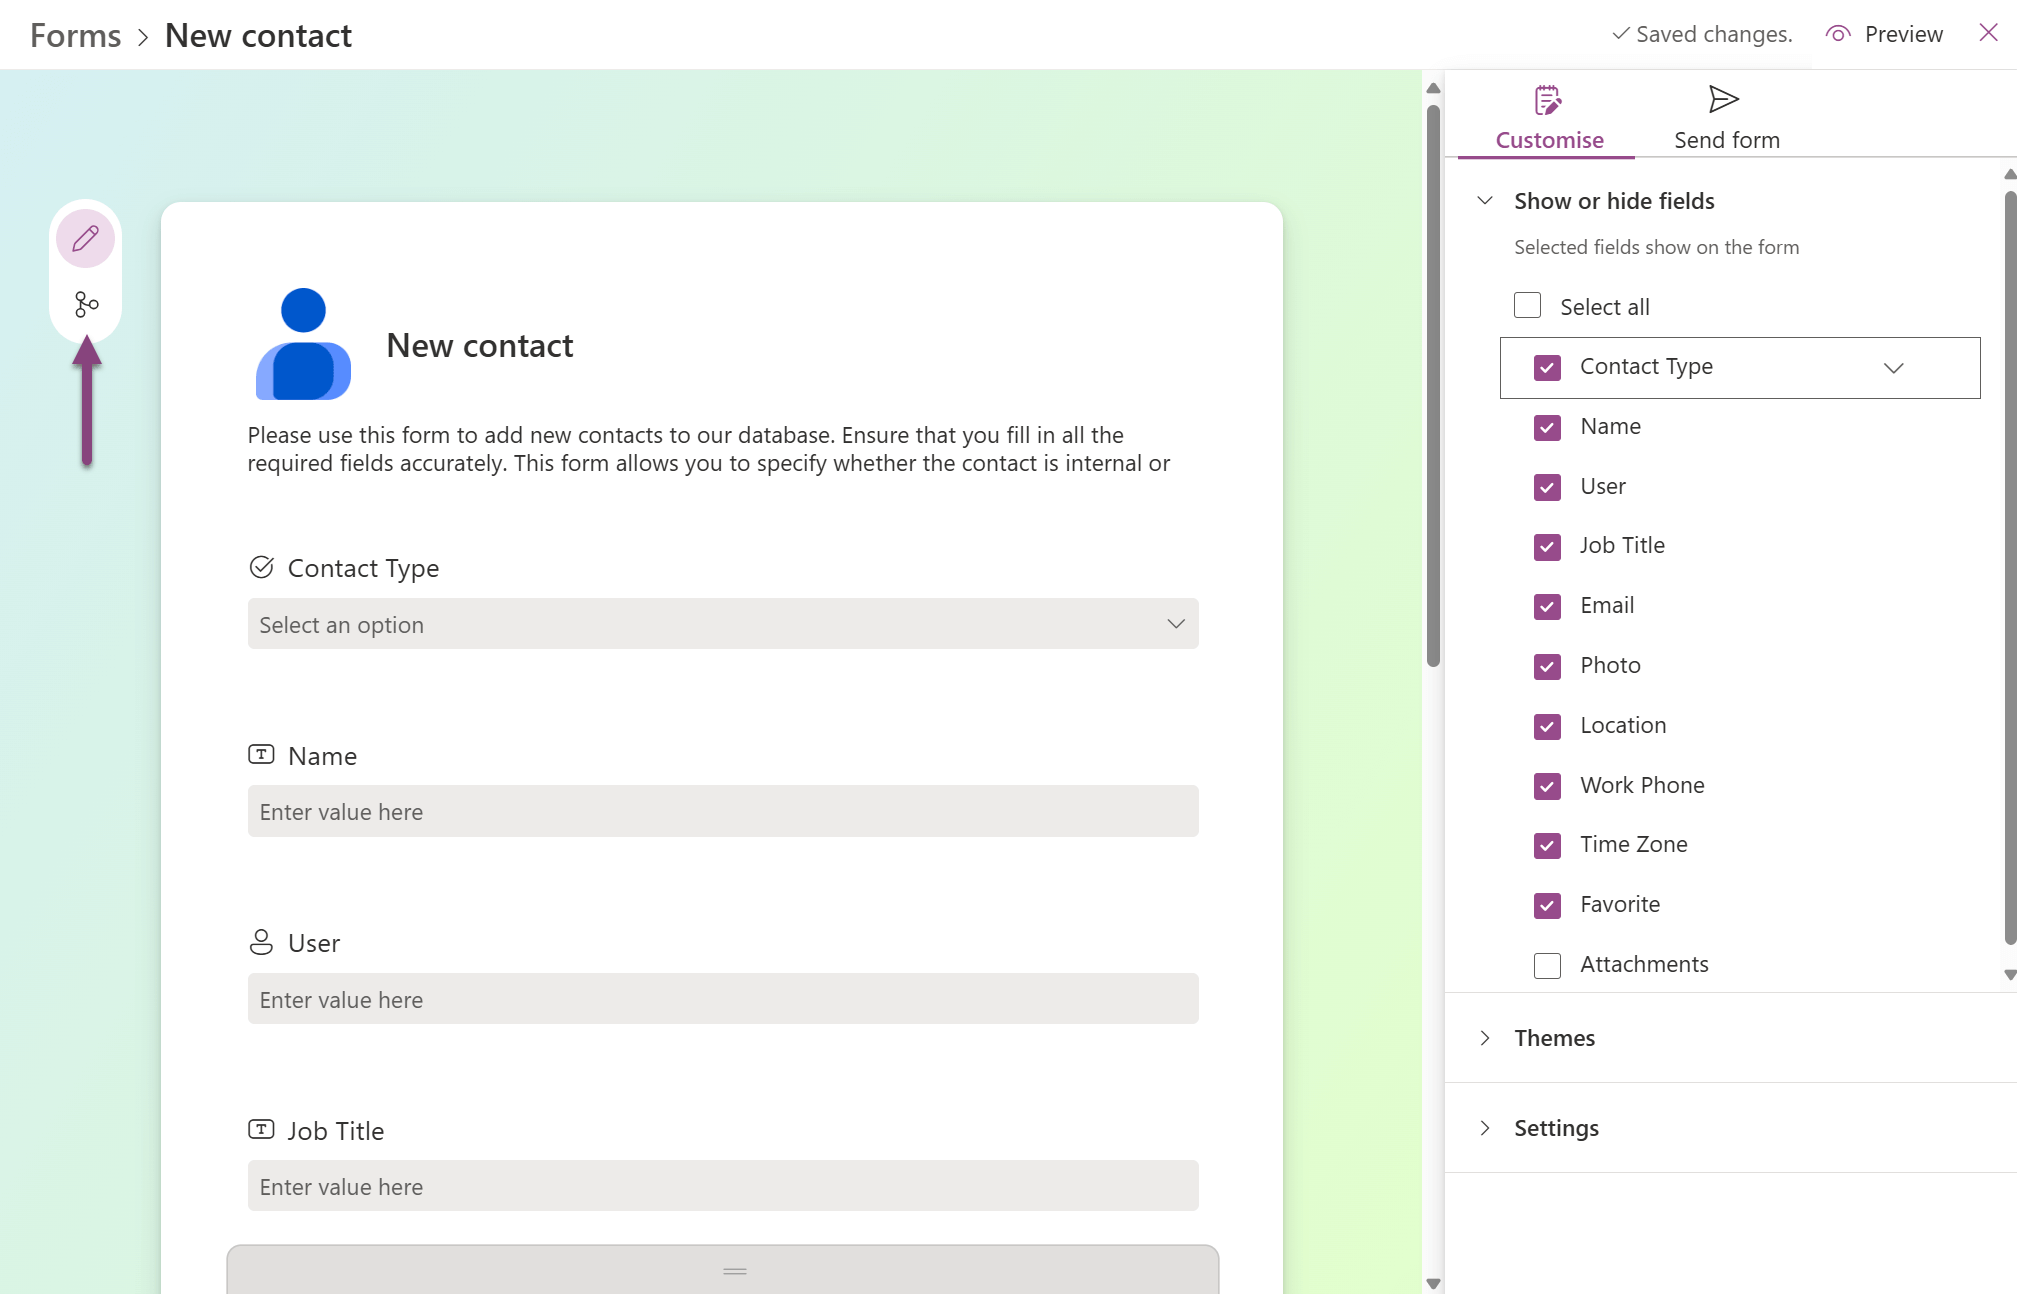
- Select the choice column that will control your branch and configure where the user should go next based on the chosen option.
- After setting up the branching logic, test the form to ensure that it behaves as expected. Make sure that selecting different contact types dynamically adjusts the form to show only the relevant fields.
- Once you are satisfied with the form’s behavior, save and publish it. Your list form will now use the branching logic to provide a more streamlined and error-free data entry experience.
In conclusion, the new branching feature in Microsoft Lists forms is a powerful tool that will simplify your life when collecting data. It addresses the challenges of managing different data requirements within a single form and provides a more streamlined and error-free experience. Embrace this new feature and see how it can transform your data collection process.


No comments yet